Understanding Aperture: How F-Stop Affects Depth of Field
- Clark Glass
- Feb 9
- 4 min read


If you’ve ever looked at a photo with a dreamy, blurred background and wondered, how do they do that? The answer is almost always aperture.
Aperture is one of the three pillars of exposure (along with shutter speed and ISO), but it does more than control brightness. It directly affects depth of field — how much of your image appears sharp versus blurred.
The good news is you don’t need to be a professional photographer to understand it. Once you understand aperture and f-stops, you gain creative control that can transform your photos from good to striking.
What Is Aperture?
Think of aperture as the pupil of your camera lens. Just like your eyes adjust in bright or dim light, the aperture opens or closes to control how much light enters the camera.
A wide aperture (large opening) lets in more light.
A narrow aperture (small opening) lets in less light.
This opening is measured in f-stops.
What Do F-Stops Mean?
This is where many beginners get confused:
Small f-stop number = large opening (f/1.8, f/2.8)
Large f-stop number = small opening (f/11, f/16, f/22)
It feels backwards, but over time it becomes second nature.
Small number = shallow depth of field and more background blur
Large number = deeper depth of field and more overall sharpness
What Is Depth of Field?
Depth of field (DOF) describes how much of your image is in focus from front to back.
Shallow Depth of Field
Only a small portion of the image is sharp
Ideal for portraits, product photography, and subject isolation
Deep Depth of Field
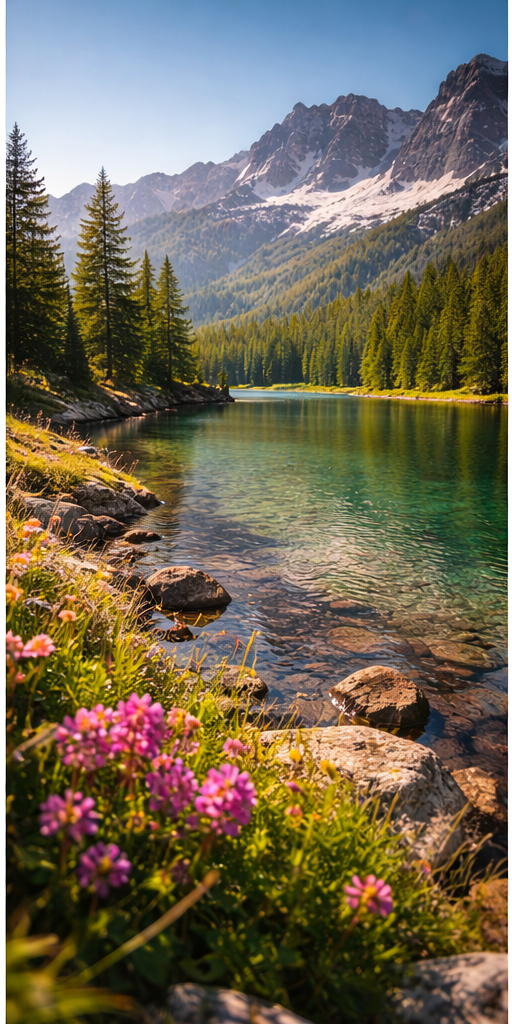
Most or all of the image is sharp
Ideal for landscapes, architecture, and group photos
Understanding Aperture: How F-Stop Affects Depth of Field
Wide Aperture (Low F-Stop such as f/1.8 or f/2.8)
Background and foreground blur into soft bokeh
Subject stands out dramatically
Excellent for portraits, food photography, and detail shots
Narrow Aperture (High F-Stop such as f/11, f/16, or f/22)
More of the scene remains sharp
Foreground, midground, and background stay visible
Ideal for landscapes and cityscapes
Aperture is both a technical and creative tool that shapes how your photo feels.
Real-Life Examples
Portrait at f/1.8
Face is extremely sharp
Background melts into soft blur
Viewer focus stays on the subject
Landscape at f/16
Foreground, midground, and background remain sharp
Image feels expansive and detailed
Understanding Aperture: How F-Stop Affects Depth of Field
Hidden Factors That Also Affect Depth of Field
Many tutorials stop at aperture, but three additional factors influence DOF.
1. Focal Length
A 200mm lens at f/4 produces more blur than a 24mm lens at f/4
Longer lenses compress backgrounds and increase blur
2. Distance to Subject
The closer you are to your subject, the shallower your depth of field becomes
This is why macro photography often produces extremely thin focus areas
3. Sensor Size
Larger sensors (full-frame cameras) naturally produce shallower depth of field
Smaller sensors (crop sensors or smartphones) produce deeper depth of field at the same aperture
How to Choose the Right Aperture
Beginner Cheat Sheet
Portraits: f/1.8 – f/4
Street Photography: f/5.6 – f/8
Landscapes: f/8 – f/16
Group Photos: f/5.6 – f/8
Macro/Close-Ups: f/8 – f/16
Aperture and the Exposure Triangle

Aperture works alongside two other exposure settings:
Aperture
Shutter Speed
ISO
Changing one usually requires adjusting another.
Examples:
Shooting at f/1.8 lets in more light, requiring faster shutter speed or lower ISO
Shooting at f/16 lets in less light, requiring slower shutter speed or higher ISO
Balancing these three settings is fundamental to photography.
Advanced Tips Most Beginners Don’t Hear About
Beware of Diffraction
Extremely small apertures like f/22 can reduce sharpness due to light bending through the tiny opening. Most lenses perform best between f/5.6 and f/11.
Use Aperture for Storytelling
Wide apertures create mood and subject separation. Narrow apertures provide context and environmental detail.
Pay Attention to Bokeh
Background highlights can turn into attractive circular light shapes called bokeh. Lens design affects bokeh appearance.
Try Environmental Portraits
Using apertures like f/8 keeps subjects sharp while also showing surroundings for added storytelling.
Smartphone Portrait Mode Limitations
Phones simulate shallow depth of field using software. While effective, optical blur from a real lens often looks more natural.
Exercises to Master Aperture
1. One Subject, Multiple F-Stops
Photograph the same subject at:
f/1.8
f/4
f/8
f/16
Compare background blur and sharpness.
2. Foreground and Background Story
Place an object in the foreground and something interesting in the background. Shoot with both wide and narrow apertures to see how the story changes.
3. The Walkabout Challenge
Take a walk using only one aperture setting. Try f/2.8 one day and f/11 another. Observe how your shooting style changes.
Common Beginner Mistakes
Shooting wide open all the time
Forgetting to adjust shutter speed or ISO after changing aperture
Ignoring lens sweet spots
Standing too far from subjects when trying to create blur
Final Thoughts
Aperture is more than a technical setting — it is a storytelling tool. Understanding how f-stops influence depth of field gives you creative control over your images.
Whether you want a dreamy portrait with soft background blur or a fully sharp landscape, aperture is key. Experiment frequently, compare results, and develop instinct through practice.
Photography has no single correct setting. The best choice is the one that tells your story most effectively.
So grab your camera, adjust your aperture, and watch how changing your f-stop changes your world.


Comments